Preparing to Start a New Coloured Pencil Drawing | Top Tips
May 13, 2022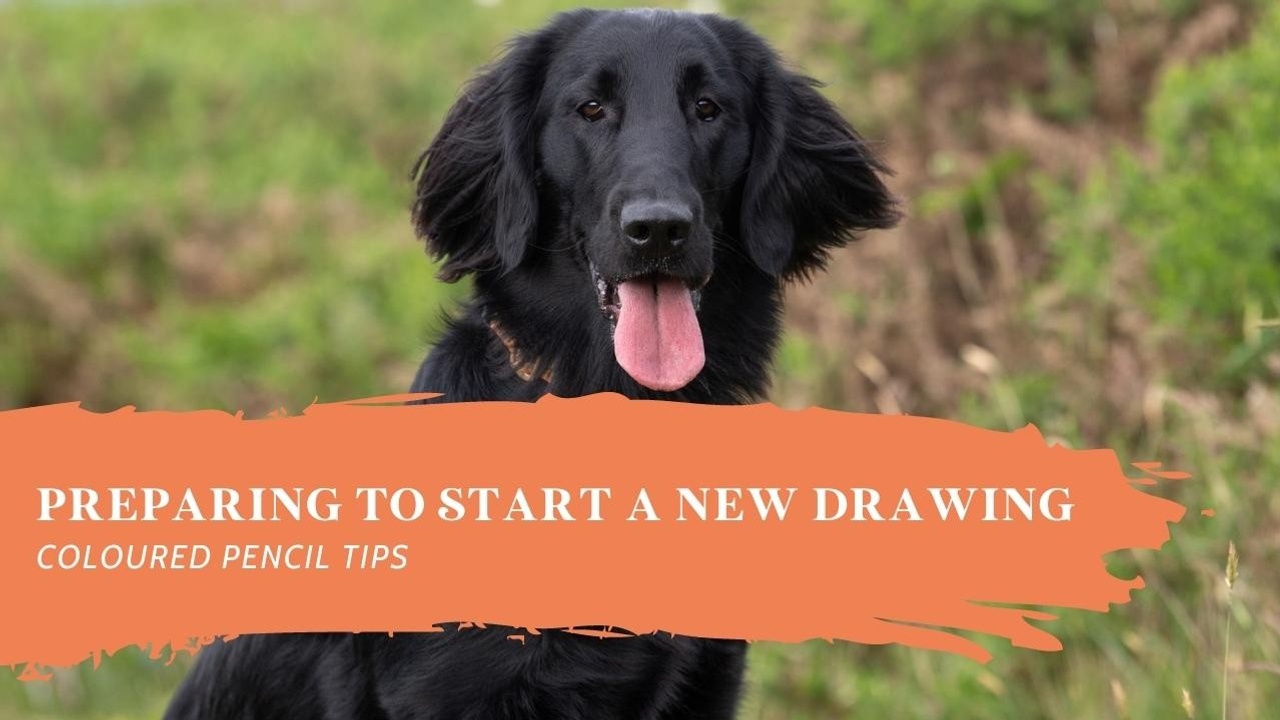
I get a lot of questions about what I do to prepare to start a new coloured pencil drawing, so today, I wanted to share the process I go through, in hopes that it will help you when you’re thinking about starting your next drawing.
Always Get Permission to Use a Photo
This is something that quite a few people don’t necessarily think about or realise is important. Even I, when I first started drawing, didn’t realise that you have to have permission to use a photo. It’s very easy to get into the habit of going onto Google, picking a photo and just starting to draw. That’s okay if you’re not planning on sharing photos of your drawings, but if you were to share it on social media, that’s where you run into issues with copyright.
If you’ve been sent a professional photo by a client for a commission, you always need to check that you have permission to use that photo. And that doesn’t mean just asking your client; you must ask the photographer that took the photo, as the copyright sits with them.
Editing the Reference Photo
Once I’ve got permission to use my reference photo, the next thing I do is pull it into my editing software. Usually, I’ll use Gigapixel or Lightroom, and I’ll try to see if I can add in a little bit more detail or alter the colours until I’m left with the best possible reference photo.
Now, you’ll already know that each photo is different, so there’s no set way of editing each and every photo you use. The first thing I like to look at is the values and the contrast to make sure that the photo has a nice depth to it and doesn’t look flat. To do this, I play around with the contrast of the photo, making sure I’ve got some really nice dark and light areas.
Next, I’ll look at the temperature of the photo. I find this especially helpful when I’m going to be drawing black animals, for example, as black can have quite a blue cast. Now, blue is a great colour to use in black, but you don’t want to overdo it. Bringing more yellow into the photo is going to help your black look less blue, and changing the temperature of the photo will help to achieve this. It can also help to add warmth to the photo.
Then, I’ll just play around with the other aspects, like tint, until I’m happy. Sometimes, photos can be quite dark and it’s a struggle to see all of those lovely details, so I’ll increase the brightness and exposure, which really helps to lift out the detail.
Quite often, I’ll work from a few versions of the photo, one which I’ll use for colour and values, and a couple of overexposed or underexposed versions that help me to see the details and texture. The really great thing about using Lightroom is that I’m able to highlight certain areas of the animal. If the nose is a bit dark and I’m having trouble seeing the shape and detail of it, I can lift the brightness of that one area and reveal the details.
There is so much you can alter in editing software, so the best thing to do is to play around and experiment with the different aspects until you’re left with a photo that you think will make a fabulous drawing! The one thing that really is important to remember is, if you’ve made changes to a reference image that you’ve been sent for a commission, you must go back to your client to make sure they are happy with the changes!
Choosing My Surface
This is something that people ask me about all the time. “How do you decide which surface you’ll use?” Well, it really does depend. Often, I encourage people to use the surface they like the most, or that they feel comfortable with. If you’ve got a favourite surface, you’re almost guaranteed to enjoy drawing on it! More often than not, I use either Pastelmat, Drafting Film or Hot Press Paper, although I don’t use Hot Press Paper that often unless they’re quite small studies, so it’s usually a toss-up between Pastelmat and Drafting Film.
For me, if I’m drawing for a tutorial, I think about the other tutorials I’ve uploaded recently. If I’ve done a few on Pastelmat, I might switch to Drafting Film. If there are particular areas or techniques my students need help with, that can influence my decision. So, the surface I use really is dependent on so many things, and there’s no cut and paste way of deciding.
Creating Line Art
Next, it’s time to create my line art and transfer it onto my paper. When I’m drawing out my line art (which I use an iPad for), I try to focus less on the details and more on the basic shapes and landmarks. So, I make sure the eyes and nose are in the right place and don’t tend to spend too much time worrying about the finer details; I find it quite distracting when it comes to drawing.
In terms of sizing, I’m very laissez-faire. I simply take the surface I’m going to draw on and use a projector to project the line art onto the paper and try to position it nicely. Sometimes, I’ll create a couple of versions of my line art, all different sizes, and see what each of them looks like. I find it easier to do that than to move my projector up and down!
Then, it’s just a matter of drawing out all of the lines (which I try to do very quickly because it’s my least favourite part of a drawing!), deciding which section of the drawing I’ll start with (which is usually the eyes for me), and I’m ready to draw!
For a more detailed look at how I prepare to start a new drawing, watch the video at the top of this page. It will give you an even better idea of the process and a more in-depth look at my editing process.
Best of luck on your next drawing!
Ignite by Bonny Snowdon
...is the ultimate membership for those wanting to improve their Coloured Pencil Skills, increase their confidence and realise their dreams!
....................
Sign up below to join the Ignite Waitlist
Join our mailing list to receive the latest news and updates from our team.
Don't worry, your information will not be shared.

